JPG, PNG and WebP conversion with AI: best tools and background removal
How should you convert JPG, PNG, WebP and AVIF without ruining image quality? Here is a practical guide to converters, compression tools, AI background removal and image SEO.
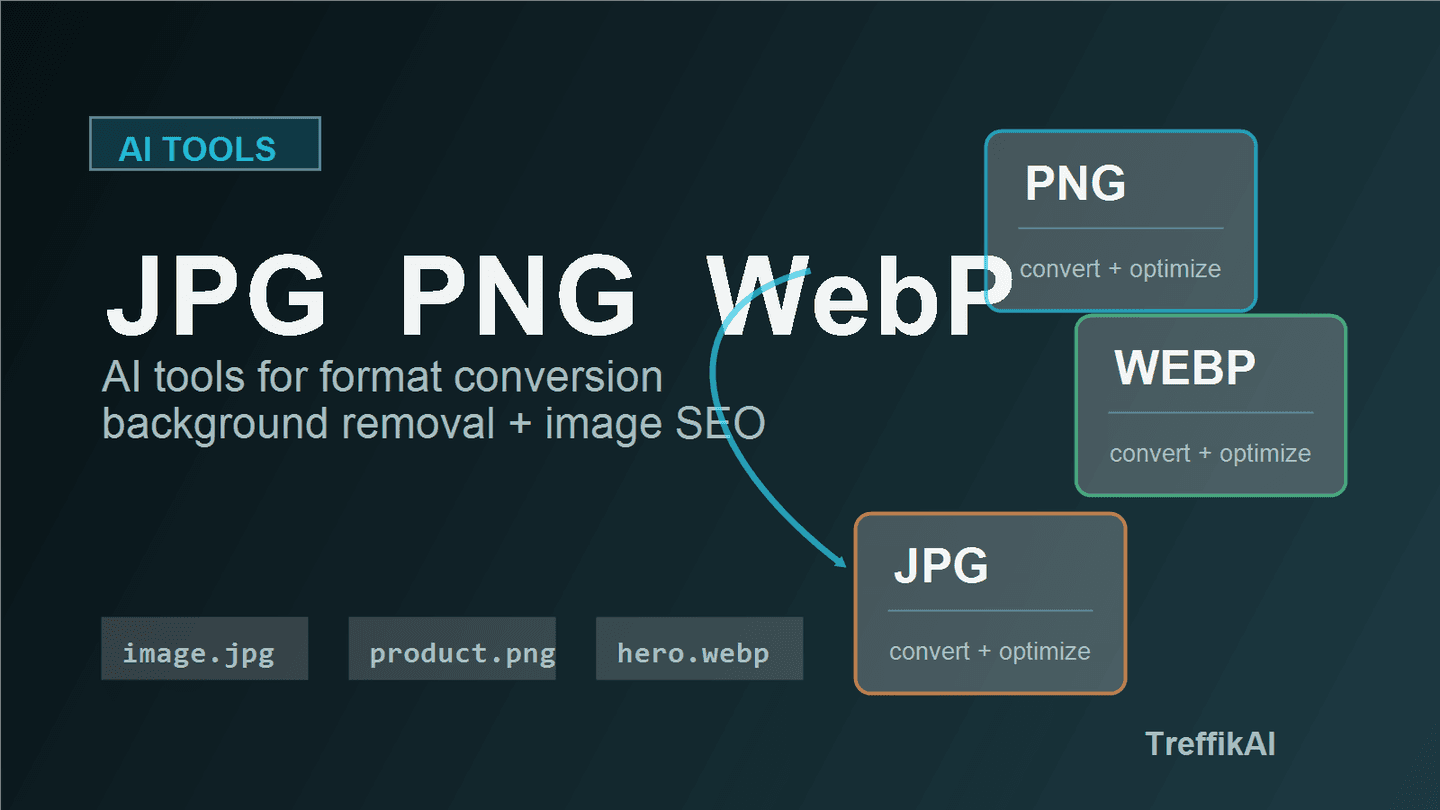
Image conversion sounds like a small technical task: turn a JPG into a PNG, save a PNG as WebP, compress the file and move on. In practice, it affects much more than file extensions. The format you choose changes page speed, thumbnail quality, Google Images visibility, ecommerce presentation, newsletter weight and the way an image behaves on mobile.
AI has made the topic noisier because many tools now advertise "intelligent" image conversion. It is worth separating two ideas. Changing a file format is usually not AI magic. It is mostly codec work: JPEG, PNG, WebP, AVIF, HEIC or TIFF. AI helps somewhere else. It can remove backgrounds, repair edges, upscale low resolution images, reduce noise, clean compression artifacts, fill missing areas and prepare an image so that conversion actually makes sense.
A good workflow is simple: improve the image first, choose the right format second, compress at the end. Doing it backwards often gives you a tiny file that looks cheap.
Quick answer: which tool should you use?
If you want a practical starting point without comparing every possible app, use this table:
| Need | Best starting choice | Why it works |
|---|---|---|
| Fast JPG/PNG/WebP/AVIF conversion | Squoosh | runs locally in the browser and gives strong control over size and quality |
| Many formats, HEIC, TIFF, RAW or batch conversion | CloudConvert or Convertio | broad format support and simple online conversion |
| Website image compression | TinyPNG | quick compression for JPG, PNG and WebP |
| One click background removal | remove.bg | strong automatic background remover for people and products |
| Background removal plus design work | Adobe Express or Canva | useful when you want to continue into a post, banner or thumbnail |
| Product photos and ecommerce | PhotoRoom | focused workflow for products, white backgrounds, shadows and catalogs |
| Privacy and local work | ImageMagick, XnConvert, Squoosh | files do not have to go through an external service |
The main rule: do not choose a tool by the format name alone. Choose it by the job. One blog thumbnail, 400 product photos and a portrait with messy hair edges are three different problems.
JPG, PNG, WebP, AVIF: what is the difference?
The image format should follow the content of the image.
JPG/JPEG works best for photos: faces, landscapes, product photos and images with many colors. It is lightweight, widely supported and practical for the web. The tradeoff is that JPG does not support transparency and can show visible artifacts when compressed too aggressively.
PNG is useful for transparency, icons, screenshots, diagrams, simple graphics and images with sharp edges. PNG files can be heavy, but they keep crisp lines where JPG often creates ugly artifacts. If you remove a background and need a transparent result, you will often end up with PNG.
WebP is the practical web format. It usually produces smaller files than JPG and PNG at similar visible quality, supports transparency and is widely supported by modern browsers. For most websites, WebP is the sensible default.
AVIF can be even smaller than WebP, especially for photos. The downsides are slower conversion, occasional compatibility problems in older workflows and a higher chance that someone later needs to convert the file back to another format.
HEIC/HEIF appears often with iPhone photos. It is efficient, but less convenient for publishing and editing. Many people convert HEIC to JPG or WebP before uploading images to a site.
Where does AI actually help?
AI is not needed for a basic "JPG to WebP" conversion. A classic converter can do that well. AI becomes useful when the image requires a visual decision.
Examples:
- removing the background from a person, product or logo;
- improving the edges of hair, clothing and transparent objects;
- upscaling a small image;
- reducing noise and compression artifacts;
- rebuilding missing areas after cropping;
- generating a clean background for product photography;
- preparing many ad, thumbnail or social media variations.
In this workflow, AI does not replace the converter. AI prepares the image. The converter saves it in the right format.
If you want a simple starting point for everyday online file tools and quick conversion tasks, TatraTools is also worth keeping nearby. It is often easier to start from one practical toolbox than to jump between a dozen single purpose apps.
The best workflow for a website
For a blog, store or landing page, a clean image workflow looks like this:
- Start with a source image in good quality.
- Remove the background or fix the crop if needed.
- Set the target pixel dimensions.
- Save the main version as WebP or AVIF.
- Keep JPG or PNG only where that format is actually needed.
- Check file weight and visible quality after compression.
- Add a useful
alttext, descriptive file name and correct image dimensions.
The biggest mistake is uploading a 5000 px camera photo and hoping the CMS will "handle it somehow". The browser still has to download data, and the mobile user pays for that with slower loading.
For articles and thumbnails, a practical baseline is:
- 1200 x 630 px for social and Open Graph images;
- 1600 px width for large in-article images;
- WebP as the default web format;
- PNG only for transparency, logos and graphics with sharp edges;
- JPG for compatibility or when another tool in the workflow does not handle WebP well.
Squoosh: best when you want control
Squoosh is excellent when you want to see the difference between the original file and the compressed result. It is not an AI-first tool, but it is often one of the best places to make deliberate conversion decisions for the web.
Its biggest advantage is local browser processing. According to the tool's own positioning, images can be processed client-side, which matters when you do not want to send a file to an external service.
Squoosh is strong for:
- comparing JPG, WebP and AVIF;
- tuning compression quality;
- resizing large images;
- spotting the point where compression starts to look bad;
- preparing a final image for a website.
It is a tool for people who want control, not just a single button.
CloudConvert and Convertio: best for many formats
CloudConvert and Convertio are practical when you have an unusual format or a batch of files. CloudConvert supports common image types such as PNG, JPG, GIF, WebP and HEIC, alongside many camera and graphics formats. Convertio is a simple online converter for many formats, with support for multiple files.
They are useful when:
- someone sends you iPhone photos as HEIC;
- you need to convert TIFF or RAW to JPG;
- you have several or dozens of files to process;
- you want quick conversion without installing software;
- the format is too unusual for a basic tool.
The tradeoff is obvious: files go to an external service. That is usually fine for public product photos. For confidential documents, unreleased designs or images containing personal data, a local workflow is safer.
TinyPNG: quick compression before publishing
TinyPNG is one of the simplest tools for reducing image weight. Despite the name, it supports more than PNG, including JPG and WebP. It is a good final step when the image is already prepared and you only want to reduce file size before publishing.
TinyPNG is not the place for complex editing. It will not replace a background remover, design editor or manual control in Squoosh. It is fast and convenient when you want to run a few images through compression and get lighter files.
It works well for:
- article thumbnails;
- product photos;
- landing page graphics;
- newsletter images;
- files that already have the right format and dimensions.
Background removal: remove.bg, Adobe Express, Canva and PhotoRoom
Background removal is where AI genuinely changes the workflow. Older tools required manual selections, edge cleanup and mask editing. Modern background removers can cut out a person or product in seconds.
remove.bg is one of the best known automatic background removal tools. It works well with portraits, products and simple graphics. It also offers integrations and an API, so it can support both manual work and larger automated workflows.
Adobe Express is useful when removing the background is only the first step. After the cutout, you can continue into a post, banner, presentation graphic, collage or thumbnail. Adobe says users can upload JPG, PNG or WebP and download the result as a transparent PNG.
Canva has a similar advantage: background removal is part of a larger design workflow. Once the object is cut out, you can add text, a background, templates, graphic elements and export the final image for social channels.
PhotoRoom is especially strong for product photography. If you run a store, marketplace listing or catalog, the important part is not only removing the background. You also need consistent light, shadow, white background and repeatable product presentation.
The common mistake: transparent PNG everywhere
After removing a background, many people leave every image as PNG. It is convenient, but often inefficient.
If the image truly needs transparency, PNG makes sense. If the product is placed on a white background, WebP or JPG is often better. The file will be smaller, and the user will not see the difference.
A practical rule:
- need transparency: PNG or WebP with alpha;
- product on white background: WebP or JPG;
- image for a website: usually WebP;
- image for print: keep a high quality source, often TIFF, PNG or PDF depending on printer requirements;
- image for further editing: keep the source file at the highest practical quality.
Image conversion and SEO
Image format affects SEO indirectly. Google does not reward a page simply because it uses WebP, but faster pages improve user experience and can help Core Web Vitals. Images also influence Google Images visibility, social media click-through rate and mobile quality.
In practice, pay attention to:
- descriptive file names, such as
jpg-png-webp-ai-conversion.webp; - useful alternative text;
- real image dimensions, not huge files scaled down with CSS;
- responsive image variants;
- compression without visible artifacts;
- lazy loading for images lower in the article;
- priority loading for the main thumbnail or hero image.
A good conversion tool will not fix a poor website implementation. If an image looks nice but weighs 4 MB and blocks mobile rendering, it is still a problem.
What should you choose for a specific task?
Need to convert iPhone photos to JPG? Use CloudConvert, Convertio or a local tool if the photos are private.
Need graphics for a blog? Resize first, export WebP in Squoosh, then check the final file weight.
Need to cut a product out of its background? Start with remove.bg or PhotoRoom. If it goes into a store, inspect the edges and shadows, not only whether the background disappeared.
Need a quick social media thumbnail? Adobe Express or Canva will be more convenient than a pure converter because you can add text and layout in the same place.
Need to process hundreds of files? Look at CloudConvert API, remove.bg API, ImageMagick, XnConvert or an automation workflow. At scale, manual clicking stops making sense.
Need maximum privacy? Use Squoosh, ImageMagick or a local editor. Online tools are convenient, but not every file should be uploaded to a third party.
Checklist before publishing an image
Before uploading an image to a site, check:
- whether the format matches the image type;
- whether the image is at the target size, not full camera resolution;
- whether compression introduced banding, blotches or broken edges;
- whether the background is actually clean, without a pale outline;
- whether the file name describes the image;
- whether
alttext helps readers understand the content; - whether the thumbnail still works on mobile;
- whether you kept a source version for future edits.
Verdict
The best AI image conversion workflow is not one tool. It is a sensible process. AI helps when the image has to be understood: remove a background, repair edges, reduce noise, upscale quality or prepare a product photo for publishing. Simple JPG to WebP or PNG to JPG conversion is still a job for a good converter.
For most people, the best toolkit looks like this: Squoosh for deliberate conversion, TinyPNG for quick compression, remove.bg or PhotoRoom for background removal, and CloudConvert or Convertio for unusual formats. That workflow is simple, fast and professional enough for blogs, stores, newsletters and everyday publishing.


